Server 0.4.1 bridge release
This release includes the bundled Skill resources missing from 0.4.0 and fixes startup through the installed command link. The earlier macOS arm64 0.4.0 first-request failure remains documented in the historical capture below.
The package and operating-system checks do not qualify every coding Agent or model. Check the compatibility guide and verify your chosen Agent with a small request.
Use the Server release
This guide uses Server 0.4.1 (tag server-v0.4.1), independently of Desktop 0.4.1. Use the Server assets from that tag, including its installer script and SHA256SUMS.
The package contains the host, matching Web UI and bundled Skills. Keep them together. Running the host itself does not require Electron, Node, Rust or pnpm. Each coding Agent has its own installation and authentication requirements.
Choose your host package
| Host | Asset | Requirements / boundary |
|---|---|---|
| macOS Apple Silicon | rovai-server-0.4.1-macos-arm64.tar.gz | Apple Silicon |
| macOS Intel | rovai-server-0.4.1-macos-x64.tar.gz | Intel x64 |
| Linux x64 GNU | rovai-server-0.4.1-linux-x64.tar.gz | glibc 2.35 baseline; Ubuntu 22.04+ / Debian 12+; no ARM64 or Alpine/musl package |
| Windows x64 | rovai-server-0.4.1-windows-x64.zip | x64 Visual C++ v14 Runtime; installer does not add that system component |
Get the files and prerequisites
Prepare one ordinary host account
- Use an ordinary OS account for Server and its Agents. Install and sign in to the Agent under that same account; do not start Rovai as root to work around a missing CLI.
- Put your project in a host directory this account can read and, when needed, write. The browser device’s folders are not automatically mounted on the host.
- Choose a durable absolute data directory with no symlink components. The default is ~/.rovai-server under the process user’s home. Program files and project files are separate.
- Confirm the chosen port is free. The examples start at 127.0.0.1:8767 for a local check; use a later connection guide to make it reachable elsewhere.
macOS / Linux · download the installer
curl -fL 'https://github.com/murray17/rovai-ai/releases/download/server-v0.4.1/install-server.sh' -o install-server.sh
sh install-server.sh --version 0.4.1What the Unix installer changes
Run these commands in a working folder. curl is needed to download; the shell installer uses standard archive and SHA-256 utilities. Read the downloaded script if your host has an installation review policy.
The default program directory is ~/.local/share/rovai-server, with versioned revisions and a current link. The command link is ~/.local/bin/rovai-server. The installer verifies the selected archive against the same release’s SHA256SUMS and adds guarded PATH entries to common shell profiles. Open a new terminal to pick them up.
It does not install a system service, install an Agent, or move Desktop data. For an offline host, download the matching archive and SHA256SUMS from the same tag on another device, transfer them together, and use --from-dir /absolute/release-folder. --prefix and --bin-dir customize the program and command directories.
Windows · install from PowerShell
Invoke-WebRequest 'https://github.com/murray17/rovai-ai/releases/download/server-v0.4.1/install-server.ps1' -OutFile install-server.ps1
.\install-server.ps1 -Version 0.4.1Windows program location
The installer places the package in %LOCALAPPDATA%\Programs\RovaiServer\current and adds it to the user PATH. Open a new PowerShell window, then run rovai-server --version. Use -InstallDirectory to select another program root or -FromDirectory for local release files.
If the command reports a missing VCRUNTIME140.dll, install Microsoft’s x64 v14 runtime first. If your organization blocks scripts, follow its approved script policy; changing the machine-wide execution policy is not part of this guide.
Upgrading a macOS 0.4.0 installation
The earlier macOS arm64 package could miss Web UI when launched through ~/.local/bin/rovai-server. Install 0.4.1 over that program directory, keeping the same data directory. The ordinary rovai-server command should then locate its package resources.
If you cannot upgrade yet, launch the old current/rovai-server directly for access to existing data. Its missing bundled Skills still prevent Agent work.
First start · macOS
rovai-server \
  --data-dir "$HOME/.rovai-server" \
--listen 127.0.0.1:8767First start · Linux
rovai-server --data-dir "$HOME/.rovai-server" --listen 127.0.0.1:8767First start · Windows PowerShell
rovai-server --data-dir "$HOME/.rovai-server" --listen 127.0.0.1:8767Log in and prepare the workspace
- Keep the terminal open. Wait for Ready and read the address and data directory in the startup summary. A local browser opens http://127.0.0.1:8767/.
- Use the login Token displayed in an interactive startup terminal. When output is redirected or a service manager starts the process, use the token command in a separate terminal with the same --data-dir.
- After login, check the Agent/Runtime settings on the Server host. A browser login does not authenticate the Agent.
- Create or configure a teammate, select a host project directory, create a conversation and send a small read-only request. Open the execution record and compare the answer with actual files.
- To stop a foreground Server, press Ctrl-C and wait for it to exit. Starting again with the same account and data directory reopens the same workspace.
Read the Token · Linux / Windows
rovai-server --data-dir "$HOME/.rovai-server" tokenRead the Token · macOS
rovai-server --data-dir "$HOME/.rovai-server" tokenBrowser login
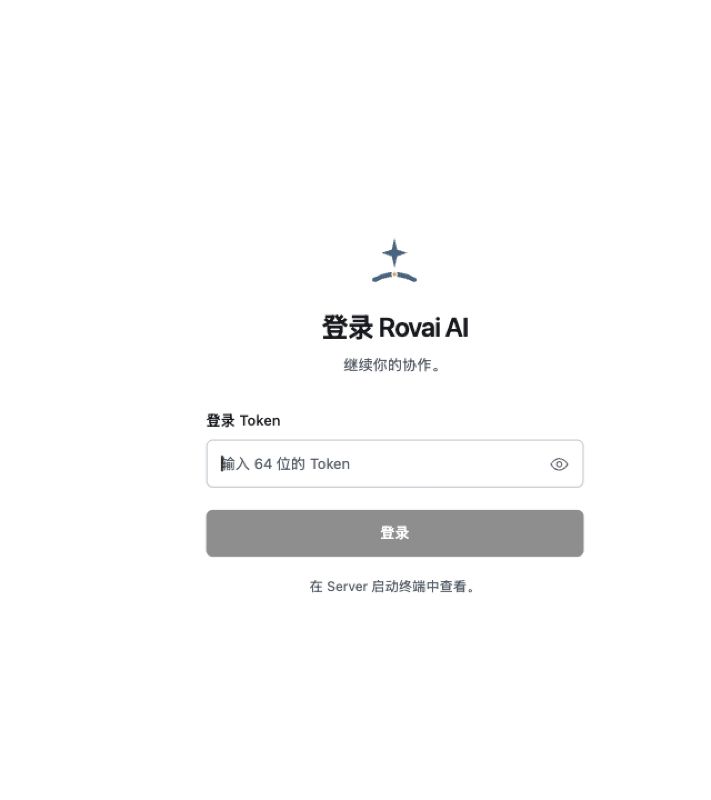
What this example verifies
The login screenshot is a historical 0.4.0 browser capture; it illustrates the login flow, not the 0.4.1 interface or a completed Agent request. The 0.4.1 package checks cover its native archive, bundled Skills and browser lifecycle. They do not prove every Agent or a physical phone connection.
Agent support is separate from host package availability. In particular, Linux Agent entries retain their own preview/qualification status. Use the compatibility guide before relying on a particular Agent.